Getting Started
Getting Started with Version Control
We’re going to use the software Git. It’s not really important to know how it works underneath. This comic is actually surprisingly accurate, although we’ll try to teach you how to avoid having to do any deleting…
1) Open your terminal, or Git Bash if you’re using Windows.
2) Set your name and username with Git. This labels modifications to files you do and associates them with you!
git config --global user.name "Ryan Pepper"
git config --global user.email "ryan.pepper@soton.ac.uk"
3) Set your favourite text editor by running the appropriate command below:
# Atom
git config --global core.editor "atom --wait"
# nano
git config --global core.editor "nano -w"

# Sublime Text (Mac)
git config --global core.editor
"/Applications/Sublime\ Text.app/Contents/SharedSupport/bin/subl -n
-w"

# Sublime Text
(Win, 64-bit install) git config --global core.editor
"'c:/program files/sublime text 3/sublime_text.exe' -w"

# Notepad++ (Win, 64-bit install)
git config --global core.editor
"'c:/program files/Notepad++/notepad++.exe' -multiInst -notabbar
-nosession -noPlugin"

# Emacs
git config --global core.editor "emacs"

# Vim
git config --global core.editor "vim"
4) We’re going to create a folder with the command “mkdir”, and change into that directory with “cd”.
cd ~
mkdir project
cd project
5) Now, we make the folder into a git repository. This means that git will start to keep track of files created in the folder.
git init6) The command “ls” shows the directories contents. If we use the command “ls -a” - the “-a” flag means that we see hidden files, shows us that a new folder called “.git” has been created.
7) We can run
git statusto show that everything has worked correctly. You should see something like the following:
 # On branch master
 #
 # Initial commit
 # nothing to commit
 (create/copy files and use "git add" to track)
Git status is a really useful command which gives you information about the ‘state’ you are currently in.
8) Let’s create a file; open the text editor you chose earlier, and save a file called “workshop.txt” in the directory you’re in.
Write something in the file, such as:
I'm learning how to use Version Control with Git!and save it.
9) Now, let’s try running ‘git status’ again. What you should see is that now, changes you’ve made show up. As of yet, the changes you have made are not saved.
 On branch master

 No commits yet

 Untracked files: (use "git add <file>..." to include in what will be
 committed)

 workshop.txt

 nothing added to commit but untracked files present (use "git add" to
 track)
An untracked file is just a file that we haven’t told Git to watch in any way - it is completely ignored. To track the file we created, we use the command:
git add workshop.txtRunning the command “git status” again:
On branch master

No commits yet

Changes to be committed: (use "git rm --cached <file>..." to unstage)

  new file: workshop.txt
10) Now, we’re going to ‘commit’ our changes - basically, take a snapshot of them at this particular time.
You have two options
i) Run the command
git commitThis will bring up the text editor you chose earlier. Type a message about the changes you have made so that the file looks something like this:
Added text to workshop.txtNow save the file.
ii) Alternatively, skip opening the text editor with:
git commit -m “Added text to workshop.txt”
Personally, this is my preferred way of doing it as it’s a bit quicker.
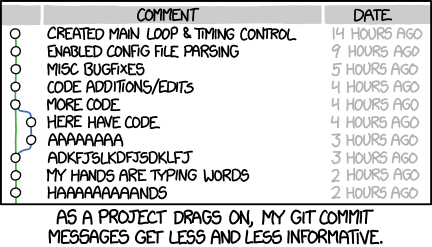
It’s really worth trying to use informative commit messages. It helps you if you need to come back later and work out what changes you made at a previous date. If you’re collaborating with multiple people, it’s much quicker for them to read your informative commit messages than it is for them to read your code!
11) Now make some more changes - add another line of text to the file workshop.txt, and commit them again.
12) Now we’re going to look at the record we’ve made so far. Try running the command:
git logWhat you should see is something like the following:
commit 3ef8ea1e42fc071b8f8121ba80419b9df6f5d983 (HEAD ->
master) Author: Ryan Pepper <ryan.pepper@soton.ac.uk> Date: Wed Oct 24
15:04:12 2018 +0100

    Added more text to workshop.txt

commit dc6b701bcdbff38fa8a9800f8173f88d514090ac Author: Ryan Pepper
<ryan.pepper@soton.ac.uk> Date: Wed Oct 24 14:17:36 2018 +0100

    Add text to workshop.txt
Breaking this down - there are two sections, for the two commits you’ve made so far, ordered from newest to oldest.
The big long strings are a label for a particular set of changes. Author and date are self-explanatory, and the text below that is the message
13) Now, let’s say that you need to go back in time and look at how the file looked some time ago. We could just delete the text, but in more complicated cases, that’s not sufficient. There is an easy way to go back.
Copy about 10 or so of the first letters and numbers of the commit that you want to see. Then run the command:
git checkout dc6b701bcdbffYou will see some output:
Note: checking out 'dc6b701bcdbff38f'.

You are in 'detached HEAD' state. You can look around, make
experimental changes and commit them, and you can discard any changes
you make in this state without impacting anything.
You’re now in a working environment with the old set of changes - if you open the file again, you can see the latest committed changes have disappeared. Don’t worry! They’re safe. You’re in something called a ‘detached HEAD’ state. This is often a source of a lot of confusion for people new to Git, because if you make commits in this state, they will get lost. In order to learn what this means, we’ll need to understand about branches.
Branches
Now is a good time to introduce the concept of a branch. Branches are basically a parallel stream of commits that you can work on separately, and switch to at any time. The branch you are on by default is known as the “master” branch. You can have as many branches as you like in a repository, and they can act as a really useful place to work on adding a new feature to the code, or fixing a bug. They act like a parallel stream of commits, and can split off from the master branch at any point.
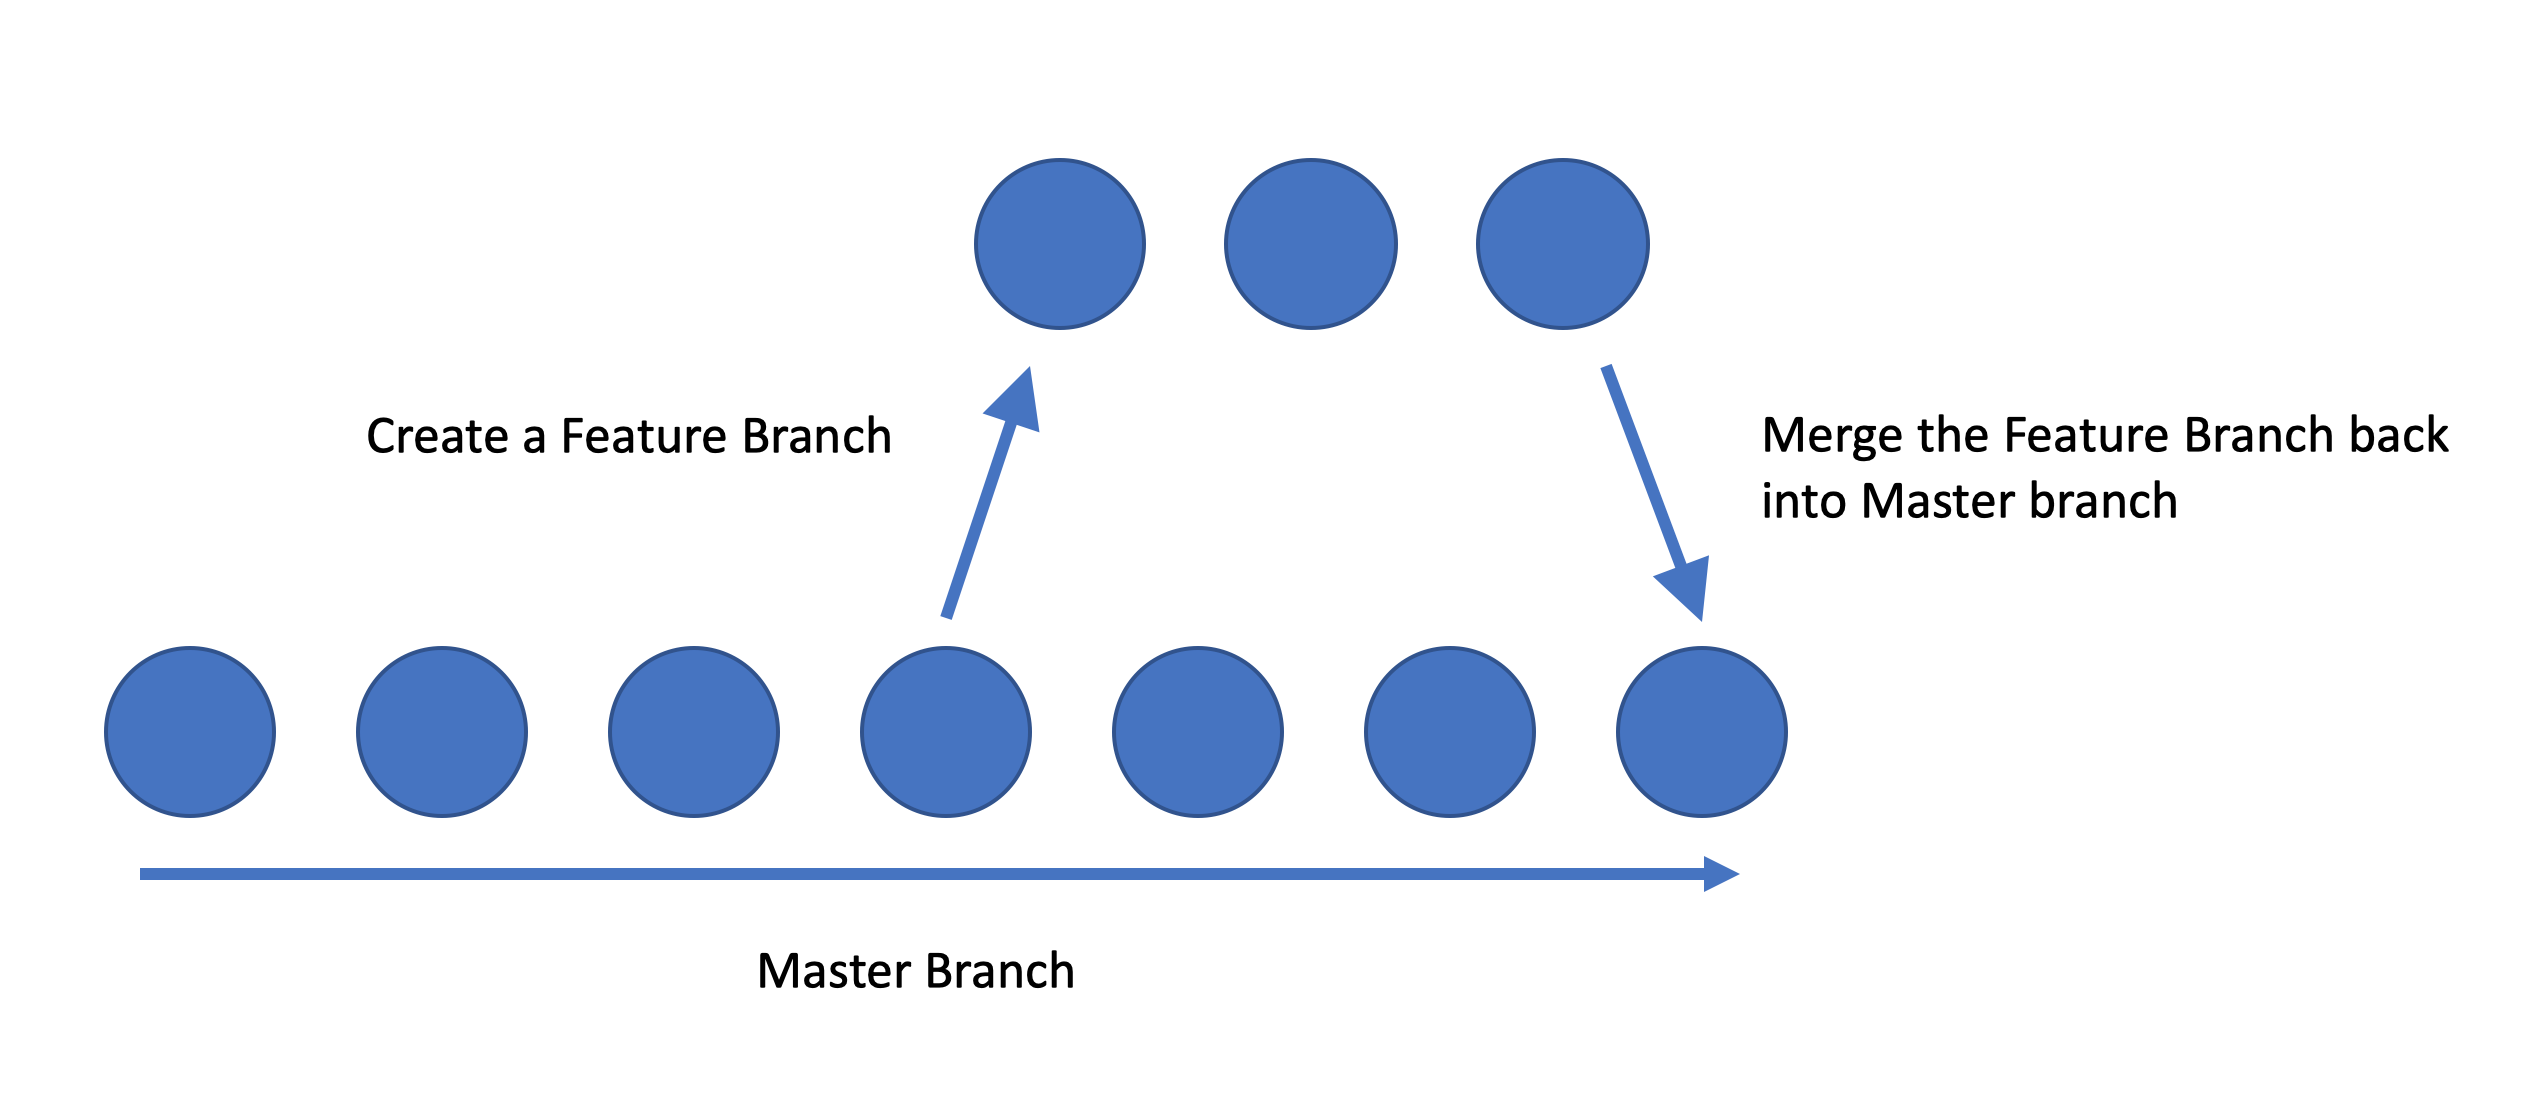
Each circle here represents a commit. At a particular commit, you can split off and create a new branch of work while other people work on the master branch. Then, later, you can merge your work back into the master branch.
As mentioned before, when you are in detached HEAD state, anything you do is discarded. However, you can keep changes you make here if you create a new branch like so:
git checkout -b mynewbranch

HEAD is now at dc6b701 Add text to workshop.txt
This is a two stage process. Git checkout is for switching between branches; the “-b” flag creates new ones.
If at any point you need to see a list of all of your branches, you can just run:
git branch
And you should see some output like:
  master
* mynewbranch
The star here just indicates which branch you are currently working on.
15) From here, we can make changes. Add some more text in the file workshop.txt and commit the changes.
You can switch back to the original history by running the command:
git checkout master16) Now you can try and merge the changes you made in the ‘mynewbranch’ branch back into the ‘master’ branch. To do this, make sure you’re in the master branch and then run the command:
git merge mybranchHowever, you may see an error message:
Auto-merging workshop.txt
CONFLICT (content): Merge conflict in workshop.txt
Automatic merge failed; fix conflicts and then commit the result.
What this means is that Git cannot automatically reconcile the differences between the version of the file in your new branch, and the version of the file in your master branch. This is called a ‘merge conflict’ That means you manually need to edit the file. Edit the file and you will see three odd lines with special markers:
Hello, we've got a file in here!

<<<<<<< HEAD
Added a line of text on the branch!
=======
Added another line to the file.
>>>>>>> mybranch
The “<<<<< HEAD” means that what follows is text on the head of the current branch - i.e. mynewbranch.
The “=======” acts as a separator
The “>>>>> master” signals the end of the conflicting changes on the master branch.
To reconcile, simply delete these three lines, to make a definitive version of the file, and save it.
Hello, we've got a file in here!
Adding a line of text.
Adding another line of text.
Do a ‘git add’ and then ‘git commit’.
When working in branches, it’s really useful to keep merging in the master branch into your feature branch every so often, so that the code doesn’t diverge too much. It’s much harder to merge a single large change than it is many small ones.
It depends on how rapidly the project you are working on is changing, but merging every couple of days is probably a good rule of thumb.